Wildlife Photography Gear for Beginners: How to Build Your First Kit
Before you buy anything, answer four questions in this order: what you want to photograph, how much the whole kit may cost, how much weight you will really carry, and what you already own. The lens usually matters more than the camera, the total budget must include accessories, and the best first kit is the one you take out often.
In this article (15)
- Start with four decisions, not a model name
- What do you want to photograph?
- Can you start with what you already have?
- How to choose your first telephoto lens
- How to choose the camera
- How to split the budget across the whole kit
- Complete kits worth considering
- Where to buy a kit safely
- Which accessories are worth buying
- What to check on second-hand gear
- When an upgrade is worth it
- Equipment and ethics
- Short answers
- Checklist for your first outing
- Sources
Start with four decisions, not a model name
- Subject: small birds, birds in flight, mammals, insects or animals in their landscape. This decides how much reach and how fast an autofocus you need.
- Total budget: camera, lens, memory cards, a spare battery and a bag together — not only the camera body.
- Weight: a kit you leave at home because it is heavy takes no photographs. Pick up a lens in a shop or borrow one before deciding.
- What you own: an existing camera or lens may be enough to learn on, and it tells you which mount to stay with.
This guide is about choosing equipment. For fieldcraft, light and settings in practice, read my bird photography guide and Wildlife Photography Tips.
What do you want to photograph?
Each subject asks for something different from the kit. Four things change between them: distance, light, movement and how much you walk.
- Small birds (tits, robins, warblers): you are often far away and the bird is tiny in the frame, so reach matters most. They move quickly between perches, which asks for fast shutter speeds and reliable autofocus.
- Birds in flight: here continuous autofocus, subject tracking and a usable burst matter more than ever. I use 1/2000 sec as my minimum for birds in flight, so in poor light the camera has to cope with higher ISO.
- Mammals: they are often active at dawn and dusk, in low light. Reach still matters, but low-light performance and a quiet approach count as much.
- Insects: a telephoto lens is not the main tool. A macro lens — or a lens that focuses close — matters more.
- Animals in their habitat: a shorter zoom or the lens you already have can be exactly right, because the landscape is part of the photograph.
Can you start with what you already have?
Often, yes. Before you buy, take what you own to a park or a lake and test it on common birds and on the animals in their landscape. Note what actually stops you: is the bird too small in the frame, is the photo blurred, does focus miss, or is the light simply too poor?
Borrowing or renting is worth it when you hesitate between two lens types — for example a lighter zoom against a longer, heavier one. Buying second-hand makes sense once you know which mount and which focal range you need, because that is when the savings go to the right equipment.
How to choose your first telephoto lens
Focal length (the millimetres written on the lens) is a physical property of the lens. What changes between cameras is how much of the scene the sensor records. A smaller sensor records a narrower part of the image, so the same lens shows a tighter field of view.
That is what "equivalent" means. On Micro Four Thirds the factor is 2×: my 100–400mm lens gives the field of view a 200–800mm lens would give on a full-frame camera (lens specifications). The lens is still a 100–400mm, and f/6.3 is still f/6.3 for exposure. On APS-C cameras the factor is roughly 1.5× (1.6× on Canon APS-C).
- Reach: for small birds, more is usually better. For larger birds, mammals at a distance and habitat shots, a shorter zoom is often enough.
- Maximum aperture: a lens that opens to f/4 gathers more light than one at f/6.3, which allows a faster shutter speed or lower ISO — but it is usually heavier and more expensive.
- Autofocus: a modern zoom with fast focus on a compatible body helps more with moving birds than a slightly longer, slower lens.
- Stabilisation: it helps hold the frame steady and use slower speeds on still subjects. It does not freeze a moving bird — only shutter speed does that.
- Compatibility: check the mount, and with adapters check that autofocus still works as you need it to.
- Weight: my 100–400mm II weighs 1,125 g without its tripod foot, according to the manufacturer's specifications. I can carry it all day on one shoulder strap; some longer lenses for other systems weigh considerably more.
How to choose the camera
Do not judge a camera by a single number. In the field, these features work together:
- Continuous autofocus (C-AF) and subject tracking: keep a moving bird in focus. Bird detection helps when the subject is small or against a busy background.
- Burst rate and buffer: the burst says how many frames per second the camera takes; the buffer says for how long it can keep going before it slows down. A high burst with a small buffer stops just when the bird takes off.
- Viewfinder: a clear viewfinder makes following a bird easier than a rear screen, especially in bright light.
- Ergonomics: a grip you can hold for hours and buttons you find without looking matter when the moment lasts two seconds.
- Battery life: early mornings, cold and long waits drain batteries.
- Low light: dawn, dusk and forest shade decide how high you can push ISO before the result no longer satisfies you.
As a concrete example, my camera is the OM SYSTEM OM-1 Mark II. According to the manufacturer, it offers bird detection, up to 50 frames per second with continuous autofocus in RAW with a 256-frame buffer, Pro Capture and IP53-rated weather sealing; the full specifications also list two UHS-II card slots. Its limit, as I wrote in my review, is very low light: someone who works mostly in deep shade and prints large crops should look at larger sensors and accept the weight that comes with them.
My kit — the OM-1 Mark II with the OM SYSTEM 100–400mm f/5–6.3 IS II, plus an Olympus M.Zuiko 12–40mm f/2.8 PRO for everything else — suits someone who wants a lot of reach in a kit light enough to carry on foot all day. It is an example, not an entry threshold. Read the full OM SYSTEM OM-1 Mark II review for how it works in the field.
How to split the budget across the whole kit
I haven't verified current prices for a specific market, so instead of numbers here are three kit profiles. Whatever the profile, count the accessories in the total from the start.
Low budget, often second-hand
- What it includes
- An older camera body from a current mount, a telephoto zoom for that mount, two compatible cards, a spare battery and a simple bag.
- Compatibility
- Stay in one system, so a later camera body still takes the lens.
- Good for
- Learning on common birds, mammals and habitat shots in good light.
- Limits
- Slower autofocus and a smaller buffer for birds in flight; less margin in low light.
Balanced kit
- What it includes
- A recent body with continuous autofocus and subject detection, a modern telephoto zoom, fast cards, a spare battery and weather protection.
- Compatibility
- Check that the lens supports the camera's fastest autofocus and burst modes.
- Good for
- Most subjects, including birds in flight, from parks to wetlands.
- Limits
- Higher total cost and more weight than a travel kit.
Portable kit
- What it includes
- A compact body with a light telephoto zoom, cards, a spare battery and a small bag.
- Compatibility
- Smaller sensors give more equivalent reach for the weight.
- Good for
- Long walks, hiking and travel, where you carry everything by hand.
- Limits
- Usually less margin in low light and fewer controls.
Complete kits worth considering
Below are complete kits — body plus telephoto lens — that are widely recommended for wildlife beginners, from the cheapest to mid-range. I haven't tested them myself, except where I say so; the figures come from the manufacturers. Reach is the full-frame equivalent. I don't give prices because they change fast; compare the same kit across several shops.
Lowest budget: second-hand DSLR or Micro Four Thirds — For learning fieldcraft, light and composition without a risky spend. These bodies are no longer current, so buy them used from a seller who tests the gear.
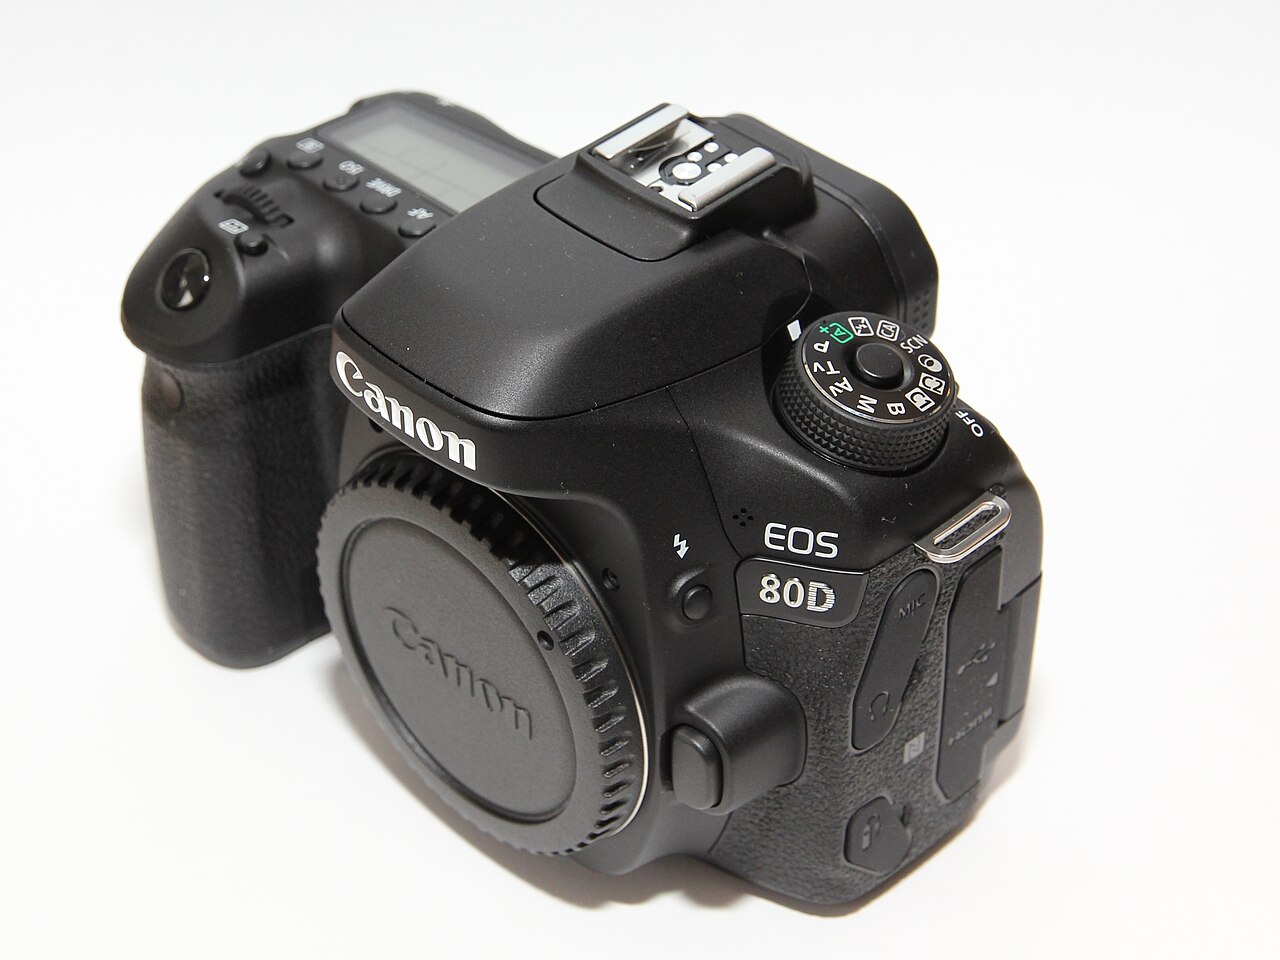
Canon EOS 80D
- Body
- Canon EOS 80D (APS-C)
- Lens
- Canon EF-S 55–250mm f/4–5.6 IS STM
- Equivalent reach
- ≈ 88–400mm
- Why it is liked
- A common, reliable body with 45 cross-type AF points and 7 frames per second; the stabilised 55–250mm is light and inexpensive.
- Limits
- No animal-eye detection; 250mm is short for small birds, so you must get closer through fieldcraft.
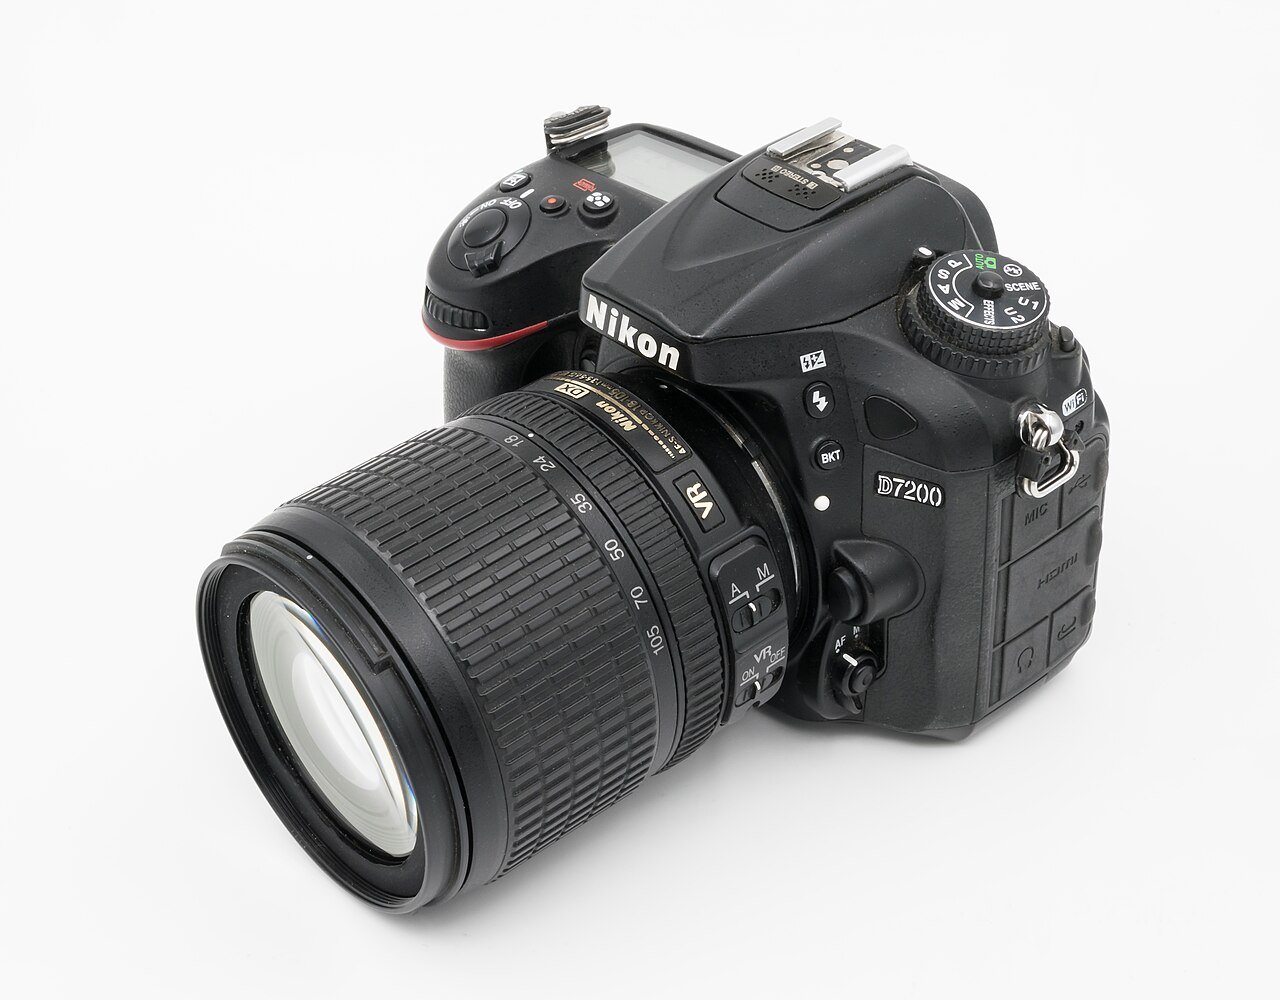
Nikon D7200
- Body
- Nikon D7200 (APS-C)
- Lens
- Nikon AF-P DX 70–300mm f/4.5–6.3G ED VR
- Equivalent reach
- ≈ 105–450mm
- Why it is liked
- A 24 MP sensor with good dynamic range and a sealed body with two card slots; the AF-P 70–300mm is light and focuses quickly and quietly.
- Limits
- Buy the AF-P version with VR: older Nikon DSLRs and AF-S versions differ. The buffer fills quickly in long bursts.
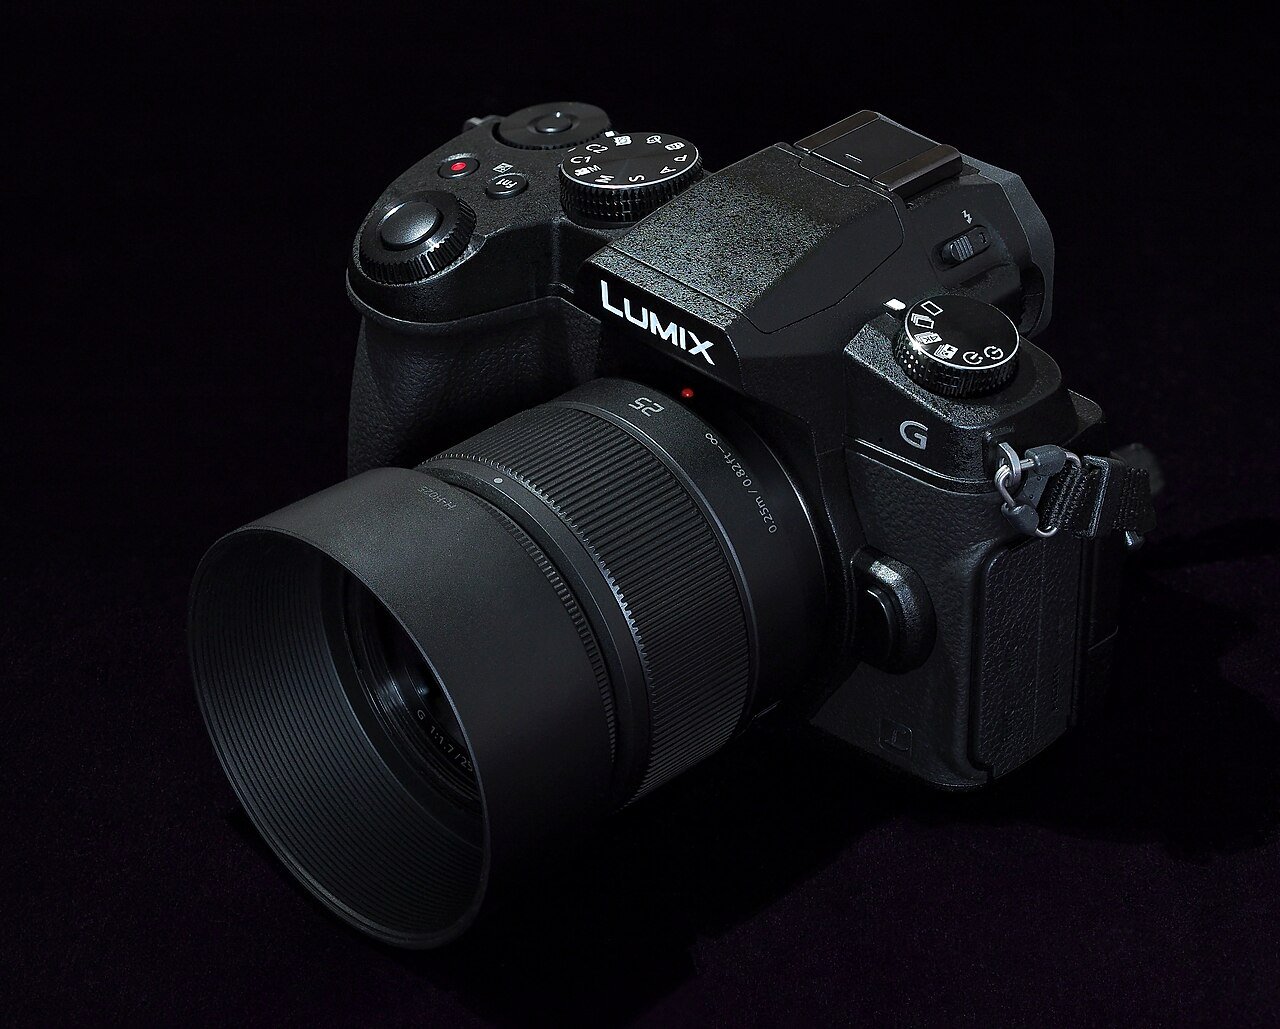
Panasonic Lumix G80 / G85
- Body
- Panasonic Lumix G80 / G85 (Micro Four Thirds)
- Lens
- Panasonic Lumix G Vario 100–300mm f/4–5.6 II POWER O.I.S.
- Equivalent reach
- 200–600mm
- Why it is liked
- A light kit with a lot of equivalent reach and Dual I.S. stabilisation. My pheasant photographs at Văcărești were taken with exactly this pair.
- Limits
- Contrast-detect autofocus struggles with birds in flight; the smaller sensor needs care at dawn and in shade.
Balanced: modern mirrorless with subject detection — An electronic viewfinder shows the exposure before you press the shutter, and autofocus can find and follow an animal's eye.
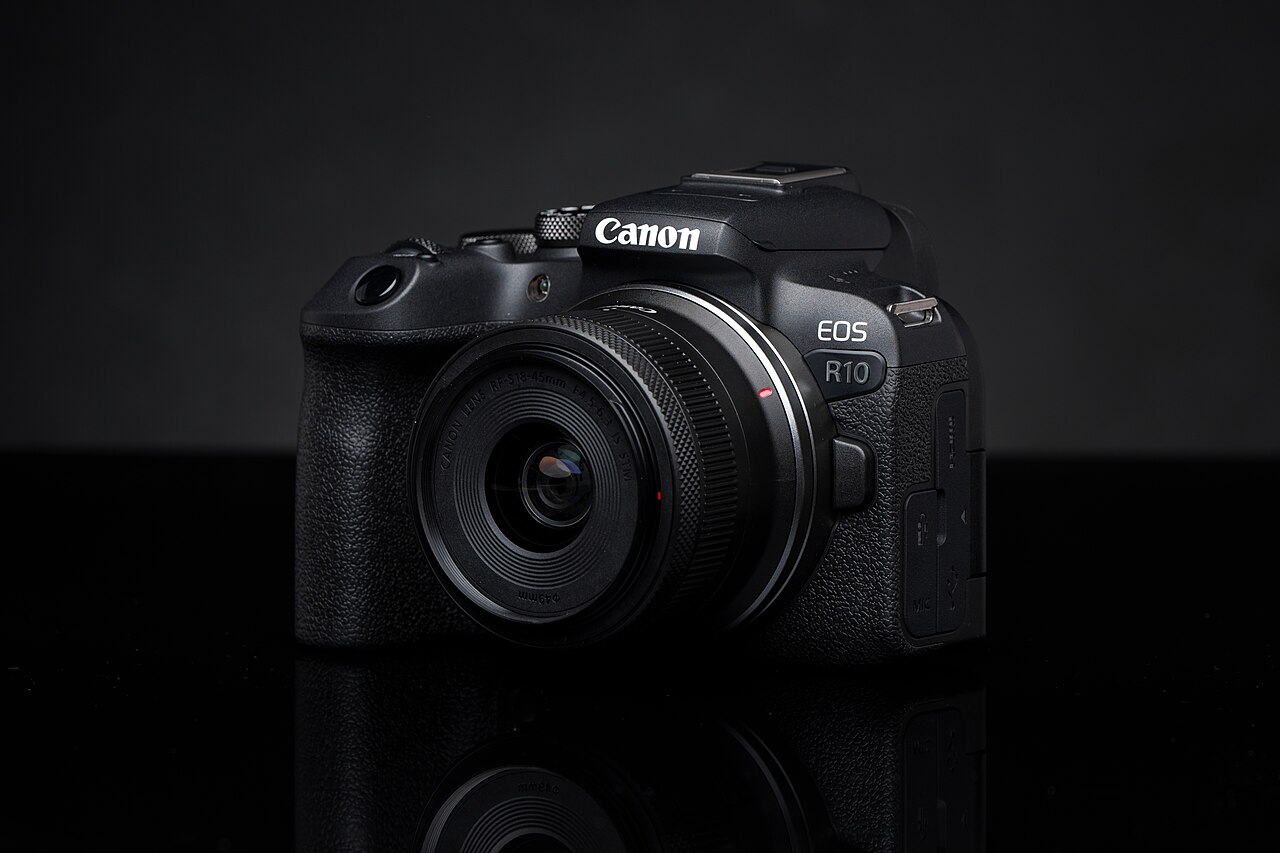
Canon EOS R10
- Body
- Canon EOS R10 (APS-C)
- Lens
- Canon RF 100–400mm f/5.6–8 IS USM
- Equivalent reach
- ≈ 160–640mm
- Why it is liked
- One of the most often recommended modern starter kits: animal detection, fast bursts and a stabilised 100–400mm of about 635 g.
- Limits
- f/8 at 400mm needs good light or higher ISO; no in-body stabilisation and a small battery — carry a spare.
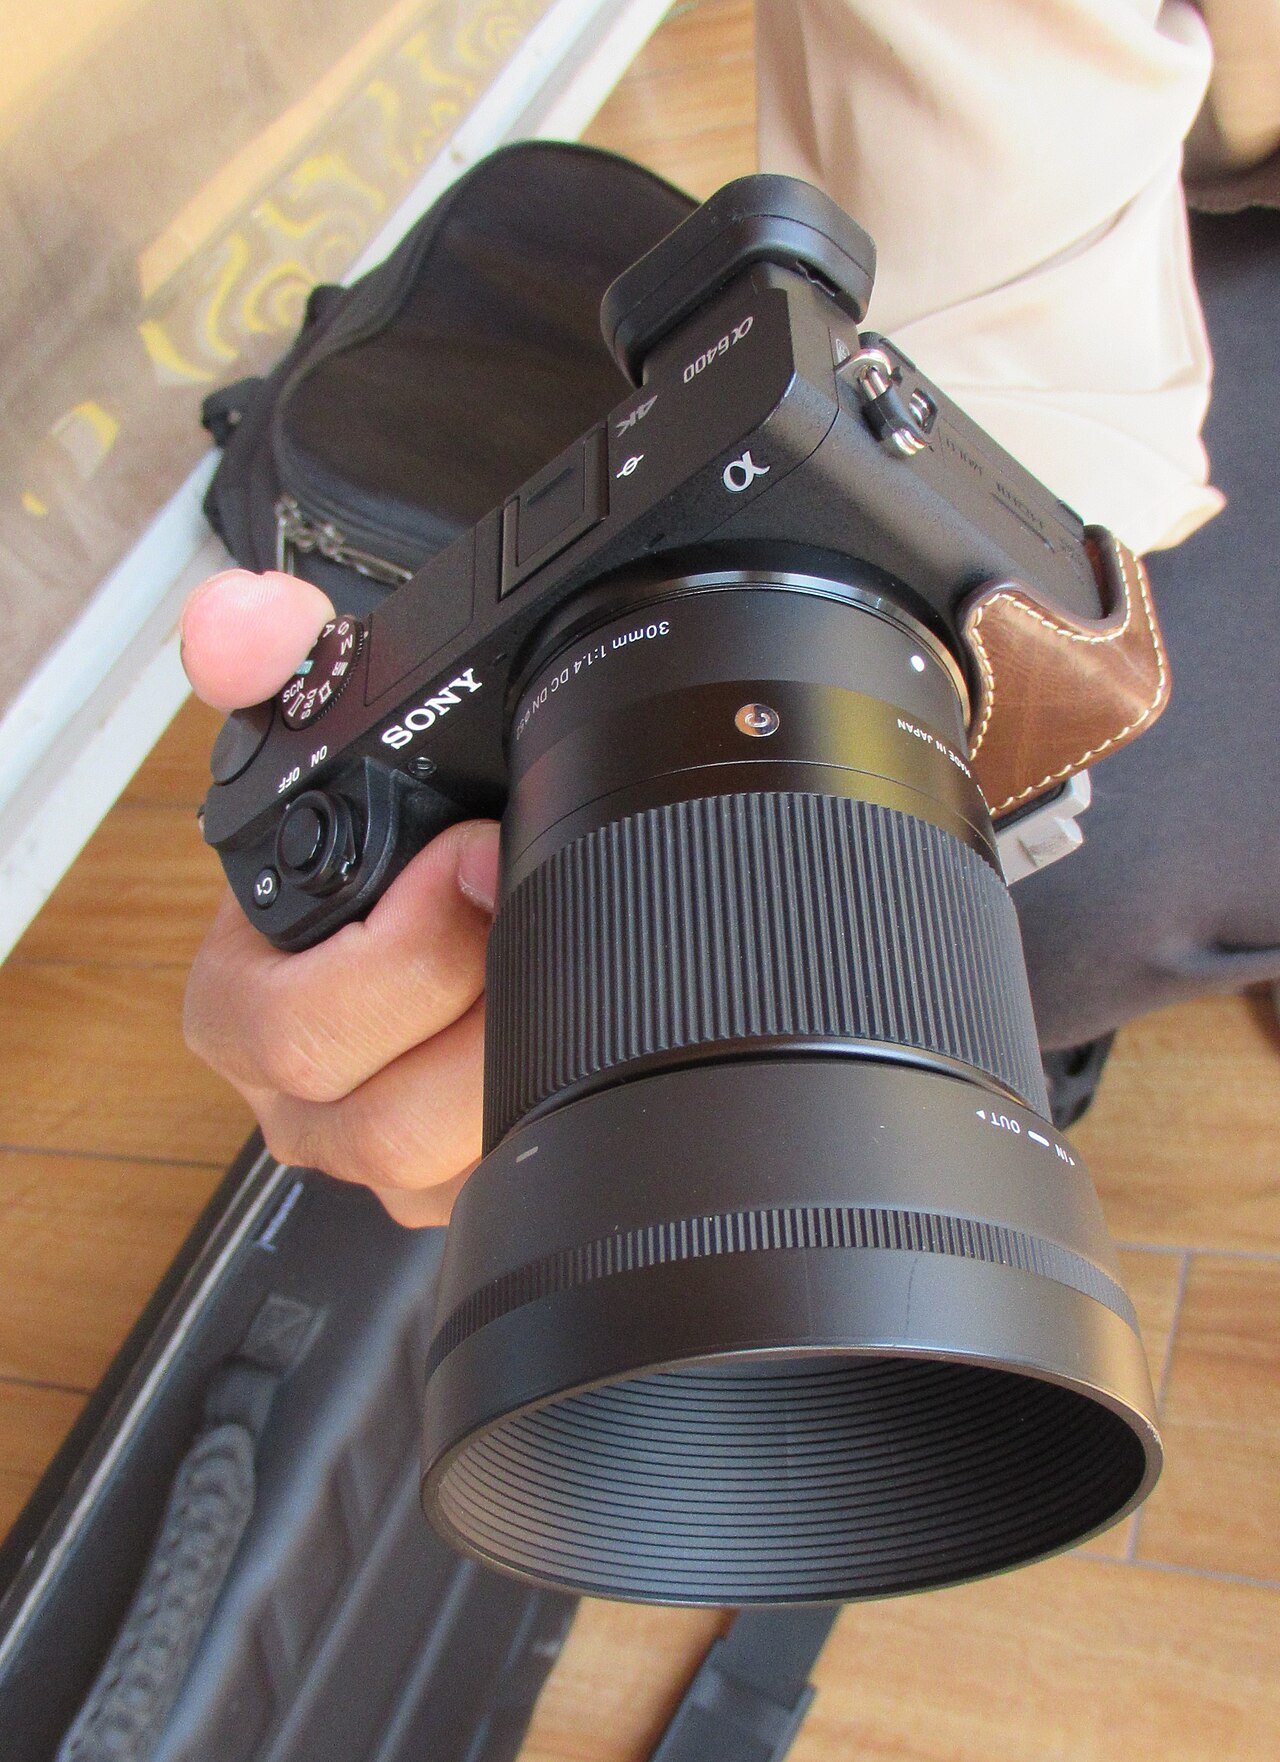
Sony A6400
- Body
- Sony A6400 (APS-C)
- Lens
- Sony E 70–350mm f/4.5–6.3 G OSS
- Equivalent reach
- ≈ 105–525mm
- Why it is liked
- Sony's Real-time Tracking and animal-eye AF, with a sharp, compact G-series telephoto of about 625 g.
- Limits
- A small grip and battery; stabilisation comes only from the lens (the A6600 adds it in the body).
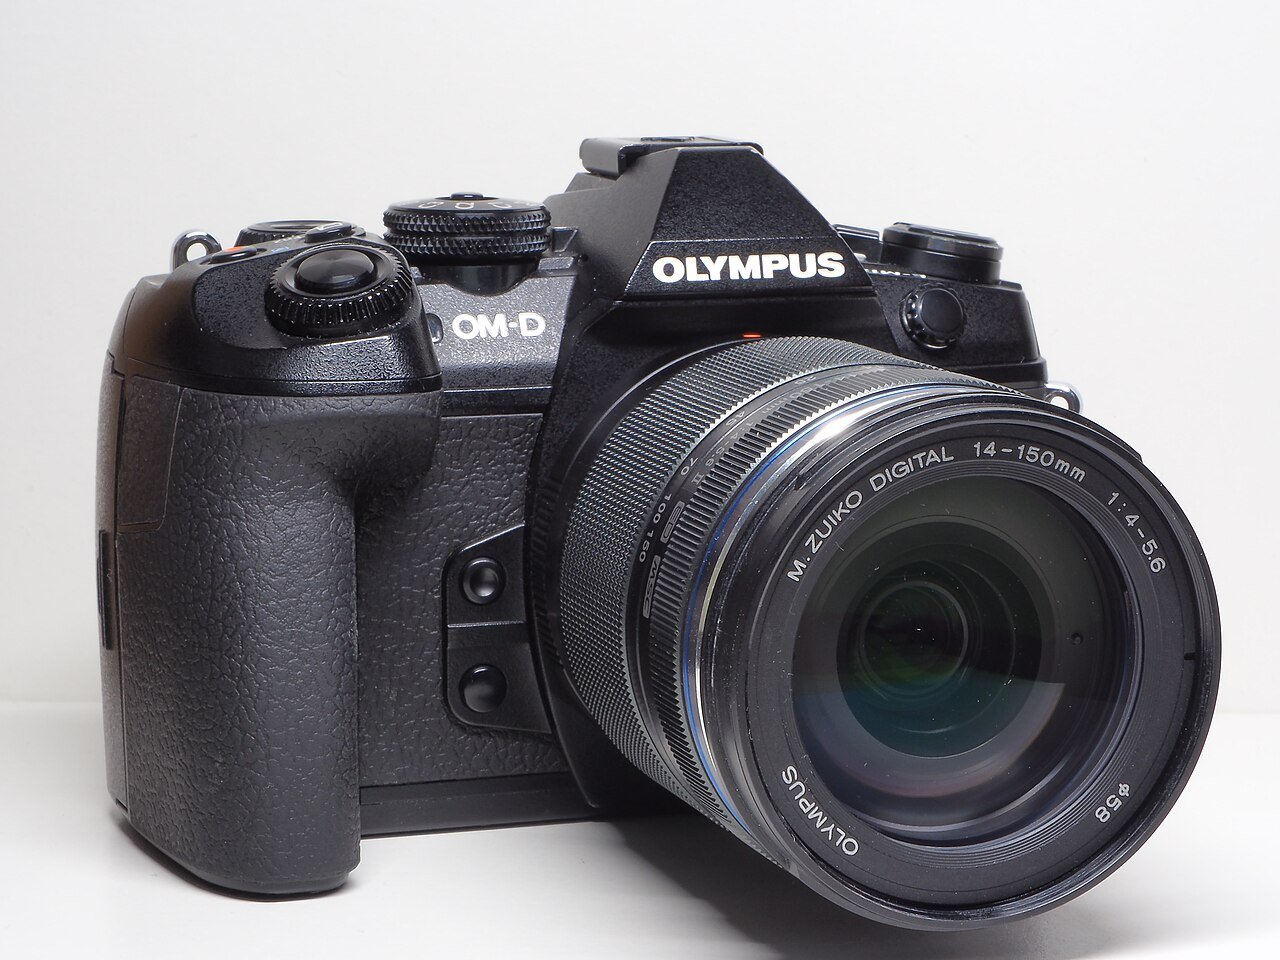
Olympus OM-D E-M1 Mark II
- Body
- Olympus OM-D E-M1 Mark II (Micro Four Thirds)
- Lens
- Olympus M.Zuiko 100–400mm f/5–6.3 IS
- Equivalent reach
- 200–800mm
- Why it is liked
- A former professional body, now common second-hand: weather sealing, strong in-body stabilisation and Pro Capture, which keeps frames from just before you fully press the shutter.
- Limits
- No dedicated bird detection (that arrived with later models); the smaller sensor gives less margin in low light.
Mid-range: for a serious hobby — Faster autofocus, more reach or more light — and more weight to carry. Worth it once you know which limit you want to remove.
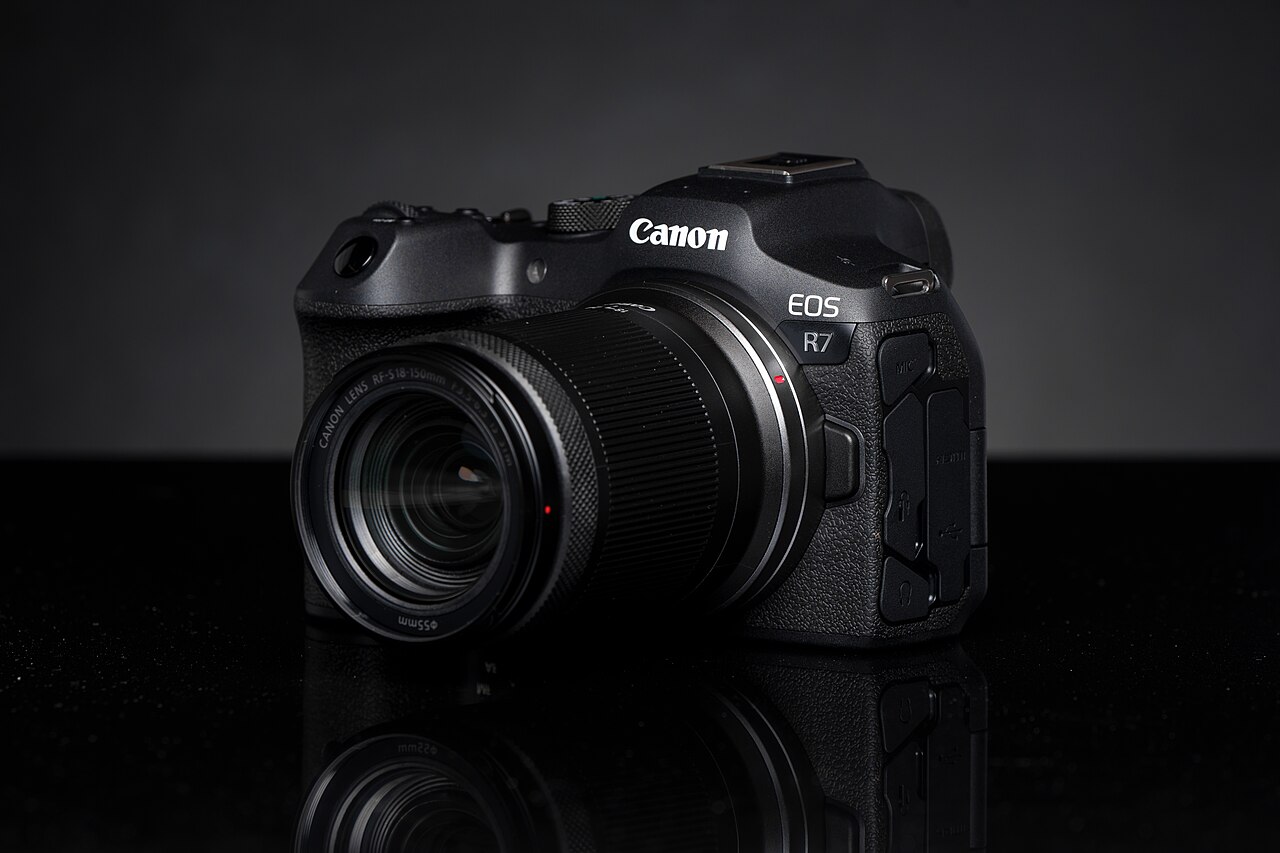
Canon EOS R7
- Body
- Canon EOS R7 (APS-C)
- Lens
- Canon RF 100–400mm f/5.6–8 IS USM
- Equivalent reach
- ≈ 160–640mm
- Why it is liked
- A 32.5 MP sensor, in-body stabilisation, two SD slots, weather sealing and the larger LP-E6NH battery.
- Limits
- Same f/8 at the long end; for more light or reach, an adapted Sigma 150–600mm is much heavier.
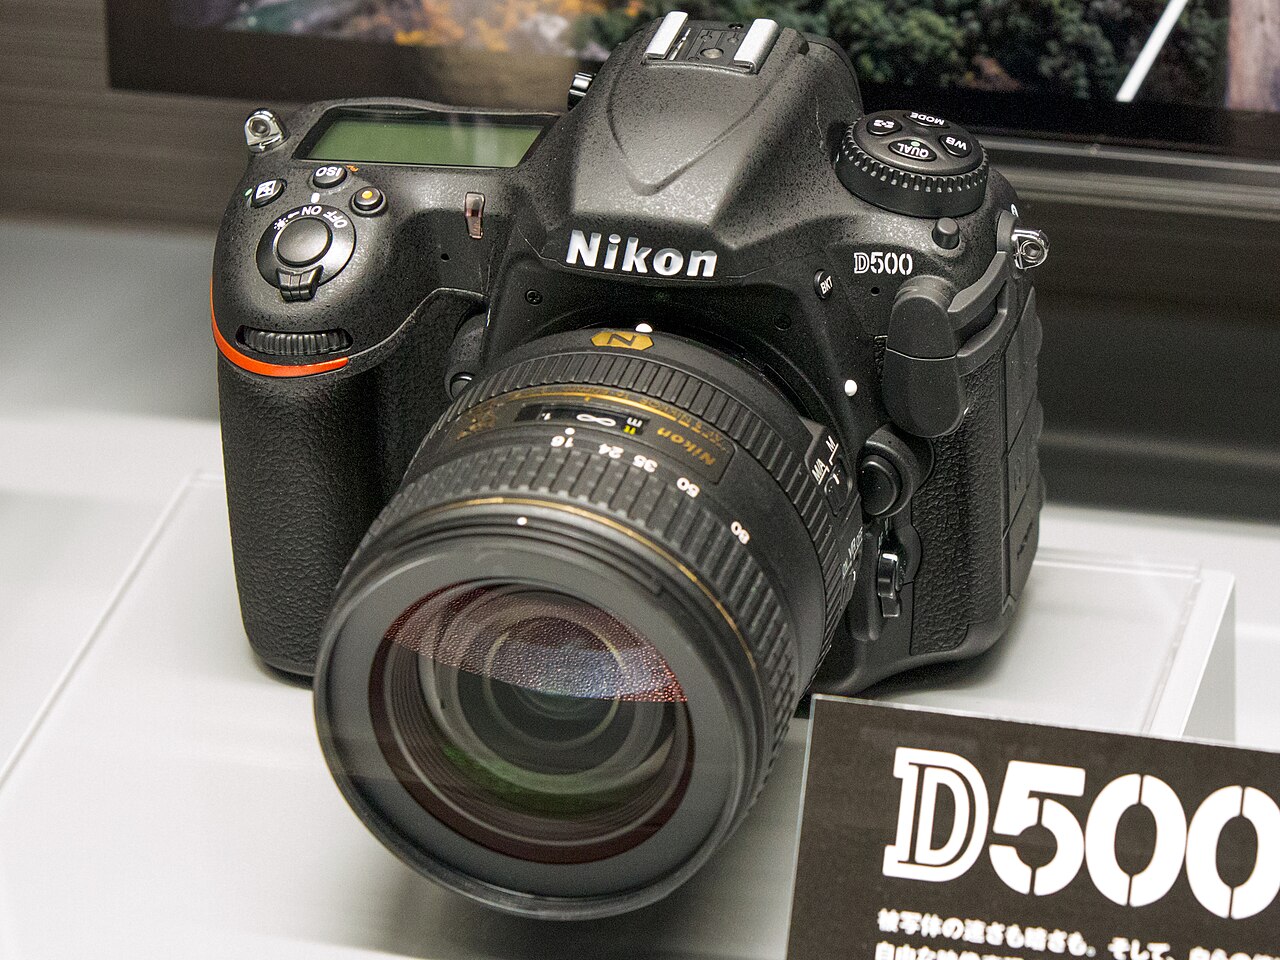
Nikon D500
- Body
- Nikon D500 (APS-C)
- Lens
- Nikon AF-S 200–500mm f/5.6E ED VR
- Equivalent reach
- ≈ 300–750mm
- Why it is liked
- Often called one of the best DSLRs for action and wildlife: fast, reliable tracking autofocus and a constant f/5.6 to 500mm.
- Limits
- Heavy: the lens alone weighs about 2.3 kg, so plan for a good strap or a monopod.
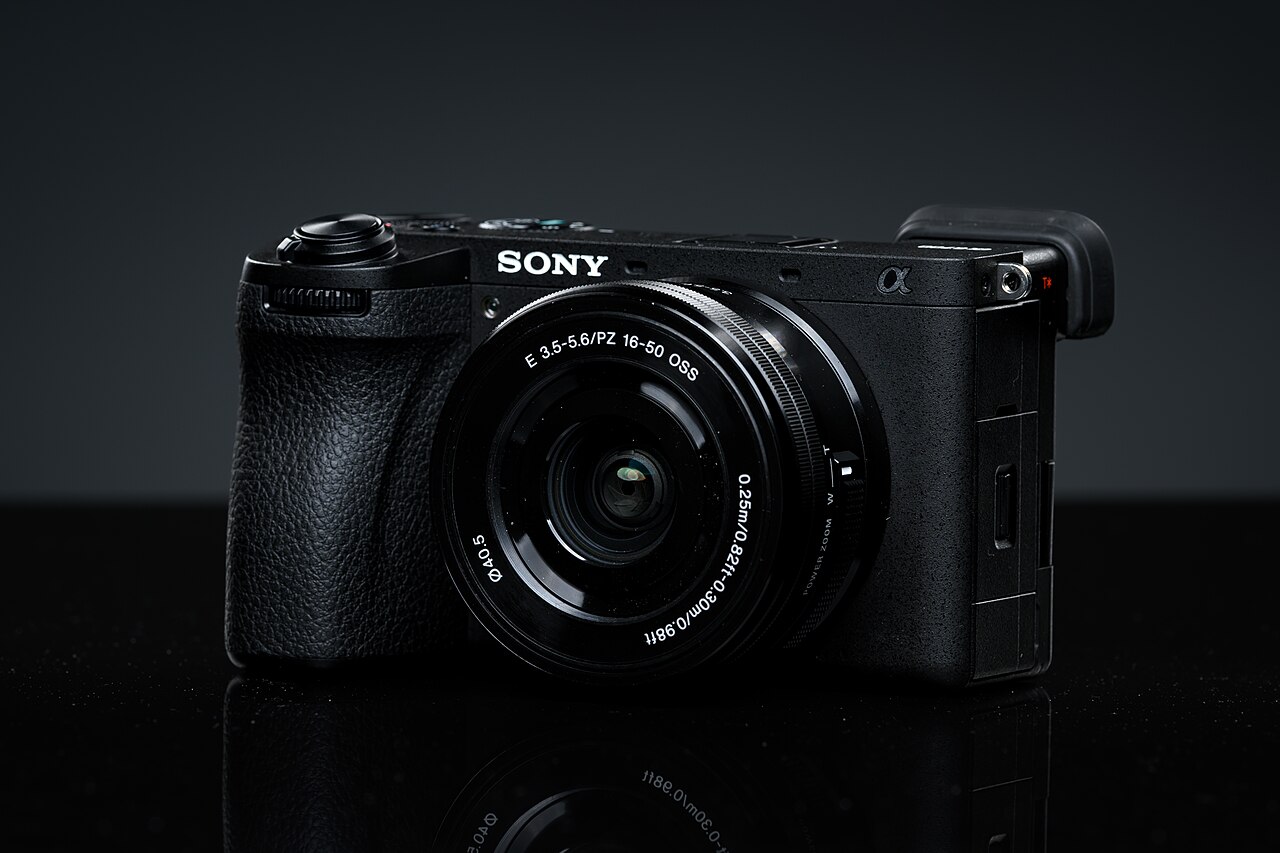
Sony A6700
- Body
- Sony A6700 (APS-C)
- Lens
- Sony FE 200–600mm f/5.6–6.3 G OSS
- Equivalent reach
- ≈ 300–900mm
- Why it is liked
- A dedicated AI unit for recognising birds and animals, in-body stabilisation, and an internal-zoom 200–600mm that doesn't extend.
- Limits
- The lens weighs over 2 kg and is much larger than the body.
Where to buy a kit safely
For a first kit, second-hand from a specialist seller is often the best value. Always check the current warranty and return conditions on the seller's site before ordering.
- MPB — a large European second-hand camera dealer. Each listing shows photos of the actual item and its condition; it ships within the EU and offers a warranty and returns.
- Kamerastore — a Finnish shop that inspects and tests used gear before sale and ships across the EU.
- Romanian camera shops with a second-hand or consignment section — you can hold the camera, mount the lens and take test shots with your own card before you pay.
- eBay — prefer sellers inside the EU: from outside the EU you will usually pay import VAT and handling fees on arrival. Pay only through the platform and choose sellers with long, positive feedback.
- OLX and photography groups — meet in person, test the gear in daylight using the checklist below, and never pay in advance.
Which accessories are worth buying
- Memory cards: check which type and speed the camera supports — fast cards empty the buffer sooner.
- A spare battery: probably the most useful first accessory for long mornings and cold days.
- Transport: a bag or strap that lets you carry the kit comfortably all day.
- Weather protection: a rain cover or a simple waterproof sleeve, even for sealed equipment.
- Binoculars: they help you find and watch birds without lifting the camera all the time. I use a Delta Forest III 10x42.
- Supports: a tripod or monopod helps during long waits at one spot; a gimbal head makes a heavy lens move freely on a tripod. I use an Innorel RT80C tripod with a Weyllan gimbal head when I wait in one place, but none of these is required to start.
What to check on second-hand gear
- Mount and compatibility with the body or lens you plan to use.
- Camera: take photos in every mode, test continuous autofocus and the burst, and look for dead pixels or marks on the sensor.
- Camera: check buttons, dials, the card door, battery contacts and the viewfinder.
- Lens: look against a light for scratches, fungus, haze or dust inside.
- Lens: turn the zoom and focus rings through their range — they should move evenly, without grinding.
- Lens: test autofocus and stabilisation on the camera, at the short and long end.
- Ask about the shutter count where the camera shows it, and keep proof of purchase.
When an upgrade is worth it
Upgrade when you can name the limit you want to remove. Many problems that look like equipment are technique, settings or conditions:
- Blurred bird: often too slow a shutter speed (technique/settings), not a weak lens.
- Noisy photo at dawn: the light is poor (conditions); a different camera helps only up to a point.
- Focus misses a bird in flight in good light, with correct settings: this is a real equipment limit, and a faster autofocus system helps.
- The bird is consistently too small, even when you get as close as is ethical: then more reach makes sense.
Equipment and ethics
A longer lens should help you keep your distance, not replace patience. If an animal changes its behaviour because of you, you are too close. Respect the rules of protected areas and don't publish locations of sensitive species, such as nests or breeding sites. More in Getting Close Without Disturbing Wildlife.
Short answers
- Can I start with an older camera? Yes. It is slower for birds in flight, but more than enough to learn on stationary subjects.
- Is the lens I own enough? Test it first. For habitat shots and larger animals it may be; for small birds you will probably want more reach.
- How much focal length do I need for birds? There is no single number. Use the equivalent field of view, not the millimetres on the lens, when comparing systems — and count on getting closer through fieldcraft too.
- Do I need a tripod? Not to start. It helps during long waits in one spot or with a heavy lens.
- When is second-hand worth it? When you already know the mount and focal range you need, and you can test the gear before you pay.
Checklist for your first outing
- Charged batteries and an empty, formatted card.
- Shutter speed set for the subject, and continuous autofocus ready.
- Weather protection for the camera and clothes that blend in.
- Binoculars, water and the time of sunrise or sunset.
- Check the place, light and weather in the Field Planner before you leave.
Sources
- OM SYSTEM — OM-1 Mark II product page — autofocus, burst, buffer, weather sealing.
- OM SYSTEM — OM-1 Mark II specifications (PDF) — sensor, viewfinder, stabilisation, card slots.
- Micro Four Thirds — M.Zuiko 100–400mm F5.0–6.3 IS II — 200–800mm equivalent, weight, IPX1.
- OM SYSTEM Japan — 100–400mm IS II specifications — weight with and without the tripod foot.
- Personal experience applies only to Nick's own kit. Other recommendations are general criteria, not tests of specific models.
Continue exploring
Questions about the photos, the settings or the gear?
Write to me below — I read every message and reply when I'm back from the field. You can also email me directly at nick.usor.peter@gmail.com.
Wild By Nick — gear guide by Nick Ungureanu. Photographs of Nick's own kit. Technical figures from the manufacturers' pages linked in the text. Camera body photos in the kit section: Wikimedia Commons, credited under each photo.